So you have decided you want to be a streamer, pro-gamer, crafter or comedian and you want to do it on Twitch. Congrats, you have taken the first step toward a new future. However, the next step – getting started, is really the most difficult, especially if you are not familiar with Twitch. Here are some of the things you need to know and do to start streaming on Twitch.
Create a Twitch Account
Obviously, you need to have a Twitch account to start streaming on Twitch. Fortunately, signing up for a Twitch account is incredibly easy.
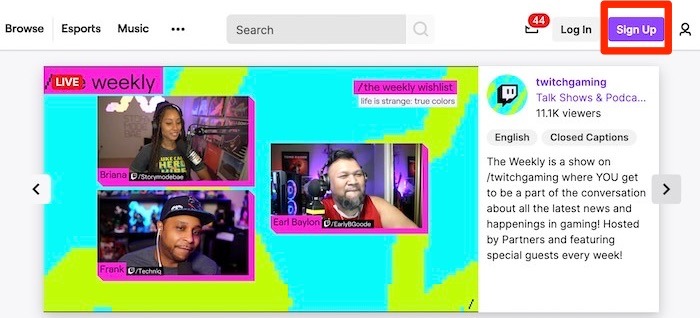
1. Start by heading to the Twitch website and look for the “Sign Up” button in the upper right corner.
2. Fill out all of your important information like the username you want, a password, date of birth, email, etc.
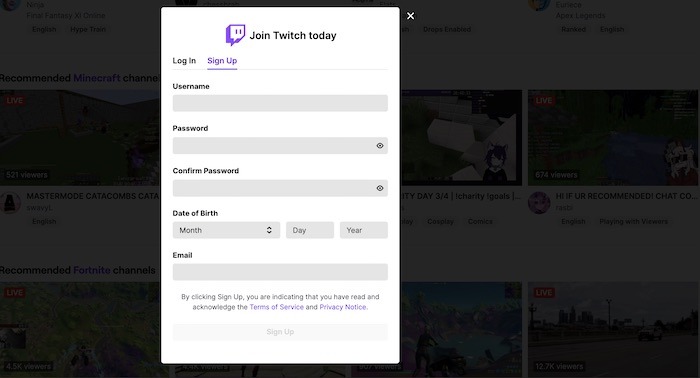
3. Twitch will then send a verification email to the email address you have entered. Grab the code that is sent over and insert it into the confirmation box on the Twitch and, voila, you are registered.
Prepping Your Hardware
Now that you have a Twitch account, next you need to make sure you have the right equipment. It is important to have a computer that can handle a constant connection. If you are streaming your gaming session, also make sure you have a powerful graphics card that can run your games smoothly. Twitch adds its own computer specs which it recommends as the bare minimum for anyone who wants to provide a “solid performance”.
To put it simply, your computer need to have a decent amount of RAM (at least 8GB), a decent video card (think NVIDIA RTX 2060 and higher these days) and a powerful enough processor (quad-core AMD or Intel). There are plenty of gaming manufacturers marketing computers specifically for streaming, so you will have plenty of options.
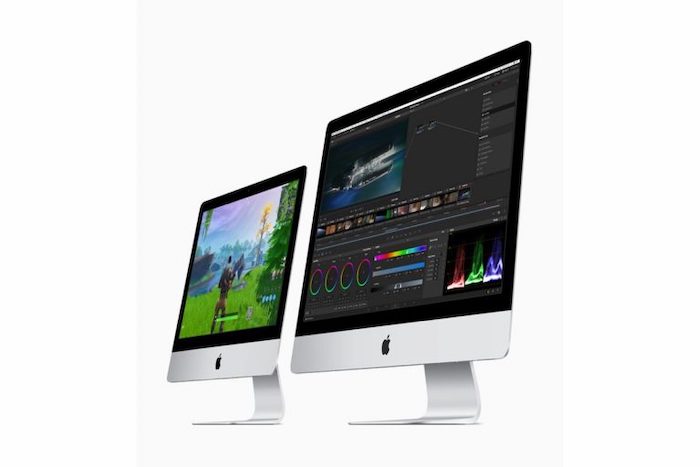
For Mac owners, the choice is simple. Any iMac, MacBook Air or Pro will do, but the more powerful Mac you choose, the better gaming results you will have. On the other hand, anyone choosing to stream with a console like the PlayStation or Xbox can be streaming within minutes. On the PS4, go to “Settings -> Account Management -> Link with other services -> Twitch” and you are ready to go. For Xbox, download the Twitch app, log in and link your account and then you are ready to go.
Software Necessities
For streaming to Twitch, OBS Studio is the most popular solution. That’s not to say it’s the best, but it’s arguably the most used. Using this software speaks back to the idea of having a computer powerful enough to handle it as it can eat up a lot of a computer’s resources.
Setting up OBS Studio is incredibly easy and it adds a good-sized library of options, features and streaming options. Rest assured you can stream directly from Twitch, set up notifications so that your followers know how to find you and set up category and search terms to help with discovery.
Another software you can use is XSplit, which has a professional edge over OBS. Check out the comparison between OBS and XSplit here.
Be Seen and Heard
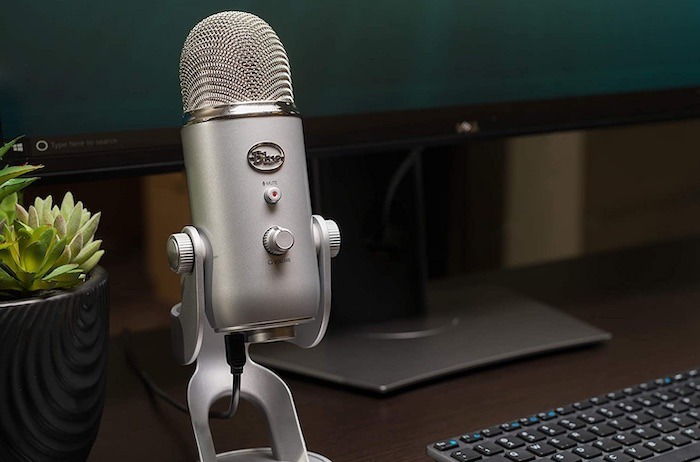
As a broadcaster, you definitely need a solid microphone. Watching your game or telling jokes is one thing, but doing it with a bad microphone is something else entirely. Twitch recommends some great options like the Yeti Blue or the AT2020, both of which connect to your PC via USB. Of course, there are more expensive microphones but at less than $150 for each of the two basic options, you will have something better than your computer’s built-in microphone option.
Next is the camera. You won’t need a camera if you are game streaming. For anyone looking to play music, tell jokes or do something else, having a good camera is definitely a must. Again, Twitch offers its own recommendations like the Logitech C920 or the Logitech Brio.
Dedicated Space
One of the most underappreciated aspects of streaming is to have a dedicated space to work in. The last thing anyone wants is to have you on camera as people walk back and forth behind you. The same goes for child interruptions, road noise, roommates, etc.
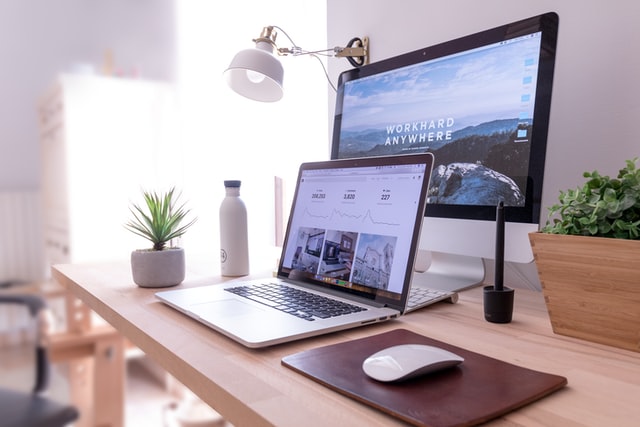
It’s good to have a tidy space behind you or you can use a green screen to add in something more visually entertaining as you stream. There is no magic formula for what kind of space works best. It’s really about what makes you feel comfortable.
Getting Your Name Out
Once you have started streaming on Twitch, now comes the hard part — getting your name out. The first step is to make sure your streams are properly categorized and labeled so you are discoverable through Twitch’s own search functionality. The rest is really up to you as you advertise yourself across your social media channels, participate in Discord chats and plug your channel, etc.
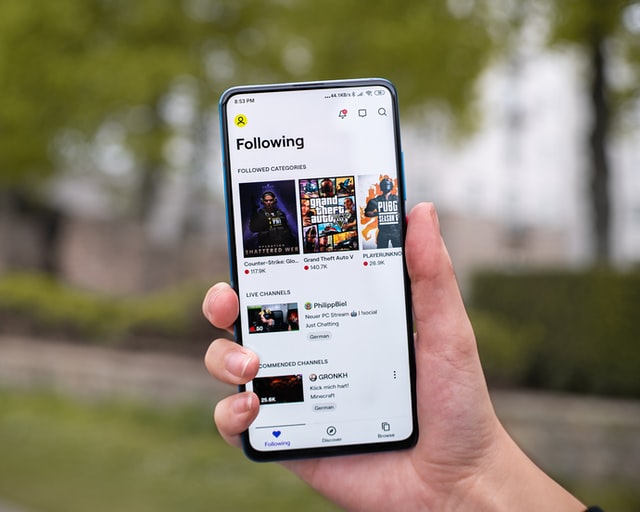
The reality is that building up your audience is hard work and being consistent, personable, approachable and responsive can go a long way to building a dedicated following. Make sure to stream clips of your streams across social media to give followers and potential followers a taste of what they can expect with your content.
Final Thoughts
If you have read this far, you have a pretty good idea of what you need to start streaming on Twitch. We’ll keep emphasizing that there is no magic formula to success but having the right tools and components can go a long way. What’s your first Twitch stream going to feature?


